I very nearly called this “What it Takes to Make a Guitar by Yourself” since that article is still fresh on the dome and the theme of “this took way longer than I thought” fits here too
This whole project started… checks photo metadata… 10(!) years ago when I think I saw a reddit post about a place to get guitar kit parts for cheap. Despite not really knowing anything about woodworking or luthier-ing at the time, I thought it’d be a fun project and wanted a more strat style guitar so I found a body blank and premade neck and got to work. From the photo evidence that I was able to dig up it looks like the first thing I did was the woodburning of the guitars moniker: the play hard ambigram.


I don’t remember a whole lot about the original part selection or assembly process other than figuring out the wiring took some time, and I wasn’t that happy with the electronics back cover plate since it stuck up a bunch on the back and was uncomfortable.

After the hardware was installed and I strung it up for the first time there was a very apparent problem. The action was super high, especially further up on the neck towards the pickups. For non guitar folks out there, the action is the distance between the strings and the frets. You generally want it pretty low which is easier to play on, but you can’t go too low or the strings will start buzzing on the frets and sound bad.
Not really knowing what I was doing I “fixed” this at the time by putting a small piece of wood between the neck and the body where it bolts on. This helped some but it was still pretty wonky. At one point I remember taking it to a guitar tech for a setup to try and adjust the action, truss rod, and do whatever to make it better. He probably thought I was crazy but took my money anyways haha.
I did have a functional guitar though even if it went out of tune a lot and wasn’t the most comfortable to play.

Fast forward a few years, I had moved from Austin to Philadelphia, and then several times in Philly. In one of the moves I decided I wasn’t playing or using the guitar at all so it’d be easier to take it apart to move. Fast forward a few more years and we had moved to Boston and bought a house which meant I finally had some space to turn into a workshop area and revive the guitar.
There was a bit of work to do to the garage to clean it up, paint it, and install some lighting before it was functional so in the meantime I started planning out what I needed to do it properly this time. Through a probably overcomplicated linear formula I worked out how far I needed to lower the bridge into the body such that the action would be reasonable.

It was also time to sand off all the original finish which was some generic all in one coat product. Like shampoo & conditioner combos, I wouldn’t recommend it.


Once I had the garage lights installed, got a workbench and a few new tools it was finally time to start making some changes to this. I started out by routing the neck and middle pickup holes a little deeper which I didn’t take a picture of, then moved on to cutting this ledge for the back plate to fit into.

I totally should have used a paper template then to transfer the shape of the hole to the wood but I didn’t think of that at the time and ended up doing a bit of guess and check taking off small pieces with a coping saw. Once it fit, I just sanded it down to be flush with the back.


Then it was on to cutting out the pocket for the bridge to sit in. This was complicated by its weird shape and the compound curve of the guitar body.

But after a few rounds of dremel, chisel, and testing it was looking good!


Now for the fun part of burning it again 🔥


Fully crispy

My father in law Allan had helpfully given me some woodworking tips and some tung oil to use for the finish this time. The wood soaked up the oil so fast the first few coats. This is the 4th or 5th coat where it started developing the lovely semi-gloss finish and the color popped.


With the finish complete it was on to wiring time. This turned out to be hardest part of the build for a couple unexpected reasons. First was the 5 way pickup switch I had from before was now too tall for the cavity with the flush cover so I had to buy a slimmer switch. Here’s a pic with the old one on the left and the new installed one on the right. The old one is tilted up here becuase the switch isn’t poking through the body like it would be if it was in the right place, but you can see it’s still a good bit too tall.

The new switch helpfully came with no wiring diagram or documentation whatsoever, so I then had the fun puzzle to solve of how all the contacts of the new switch map to the old one so I could then follow the wiring diagram. I think there’s one mistake still on there that I fixed after the fact but I’ll leave that as an exercise to the reader to find…

The other challenge was getting the neck pickup to work. I tried a number of things until I reached out to the Seymore Duncan support that helpfully informed me I connected the wrong color wire for the pickup I had…

Magnets hold the back cover on till you press the right spot


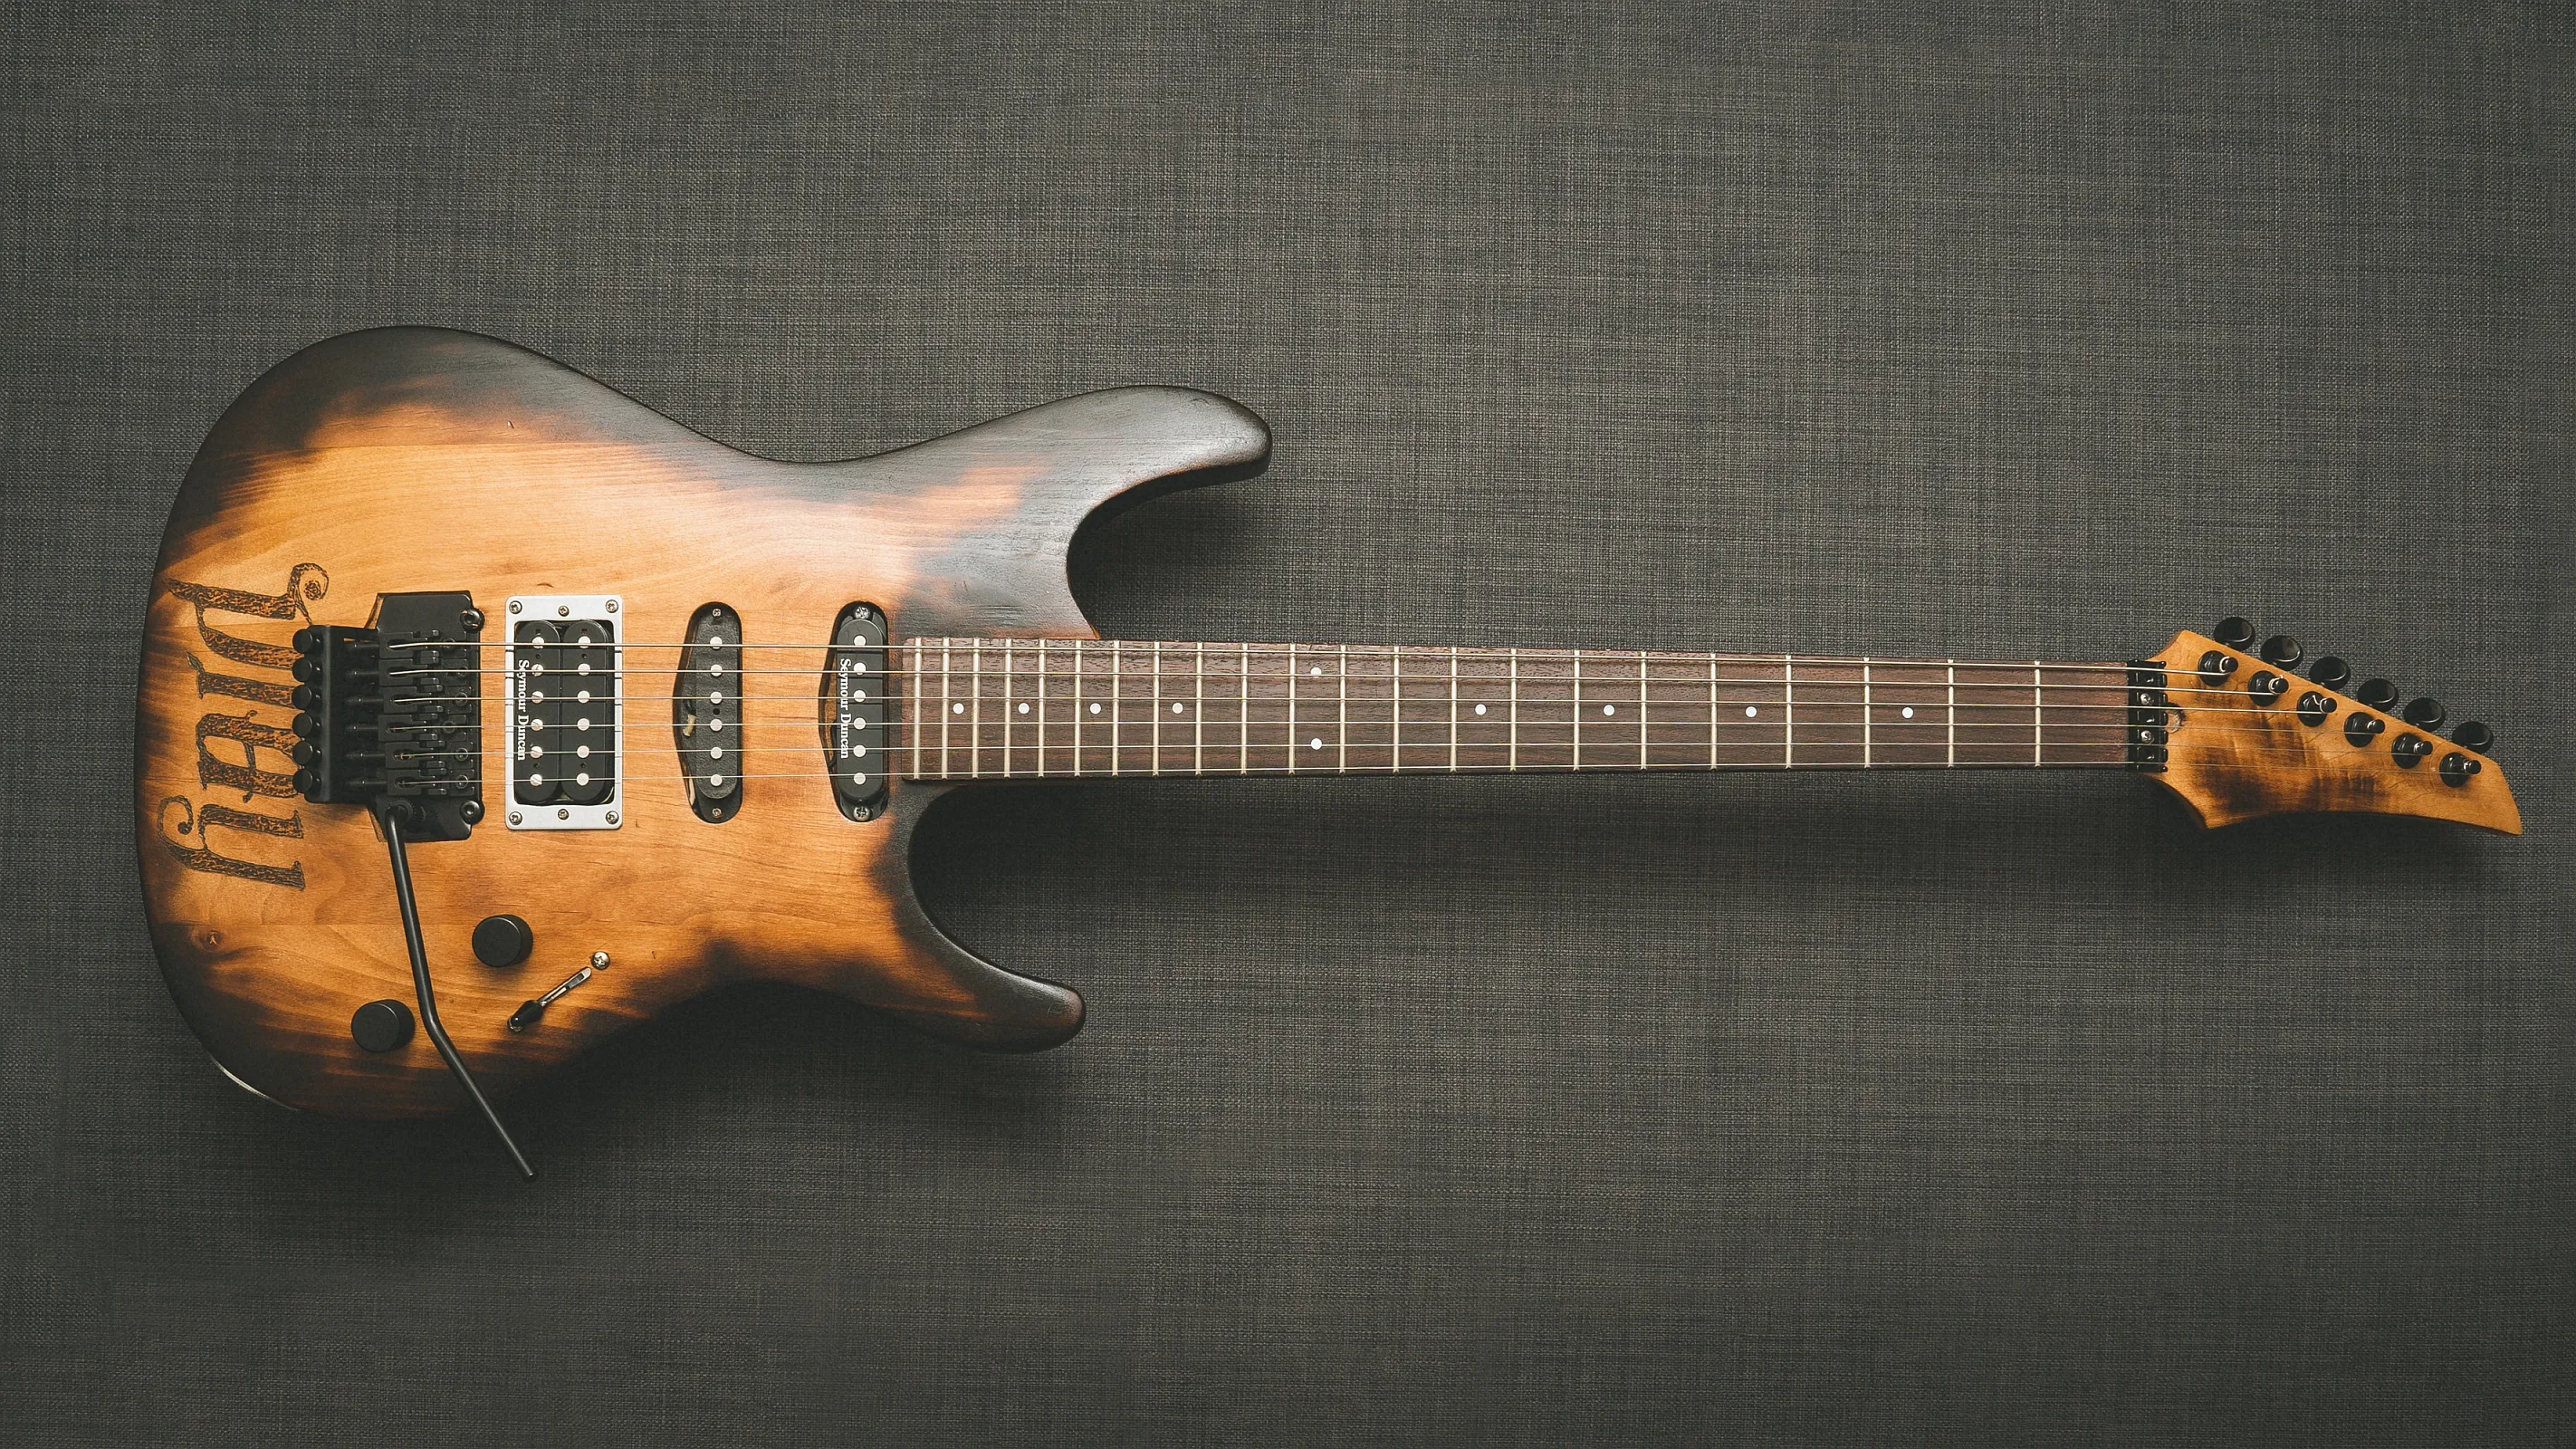
With the guitar finally complete and playable it was time for the family photo and cover shot! While looking around for other guitar photo ideas I came across this pro photographers blog post about making his own guitar build that has a lot of similarities. There’s an incredible hero shot of his guitar there and I also really relate to the section at the bottom of exploring your passions in life and the huge feeling of accomplishment you get when finishing a project like this. Seriously, go check it out!


So, after reading all that do you want to hear how it sounds?